According to the National Association of Realtors, 90% of home buyers start their search for a house online, and 100% of purchasers utilize the Internet at some point during the process. It’s critical to include high-resolution photos in your listing. Because most searches do not begin on your website, the images of a property are always your initial point of promotion.
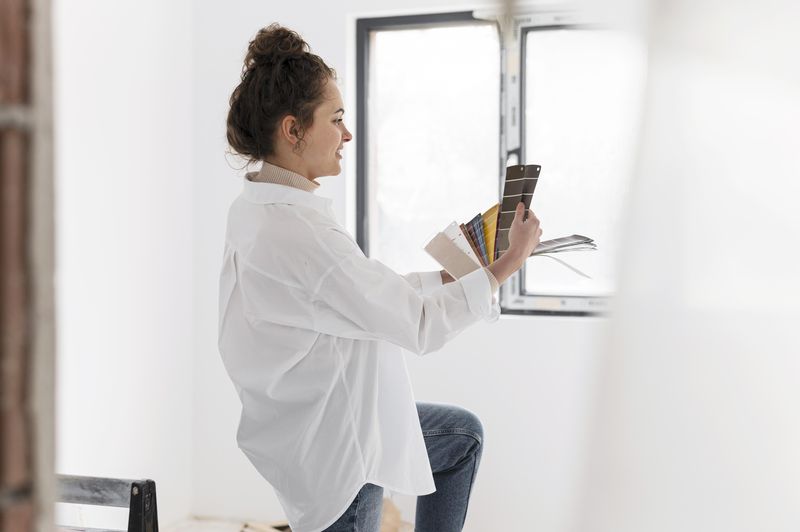
If you’re planning to sell your house, you’ll want to make it appear as appealing as possible to potential buyers. The easiest method to achieve this is to generate appealing images of your for-sale home. Usually, the real estate will organize these photos for you, but it’s your duty to produce the images.
DO-IT-YOURSELF REAL ESTATE PHOTOGRAPHY
Do you want to take images of real estate that are both gorgeous and eye-catching? You’ve arrived at the correct location. Real estate photography is constantly in demand, with properties moving on and off the market on a regular basis. And with the greatest real estate photos, each agent is competing for the attention of homebuyers. Professional real estate photography might appear to be difficult at first.
Real estate photography may appear challenging and even stressful, but with a little know-how, you can begin producing excellent photographs right immediately. I’ve spent a lot of time studying real estate and home photography, and I’d want to share what I’ve learned with you today. Continue reading this post if you want to learn how to photograph houses like a pro.
1. ORGANIZE YOUR SPACE
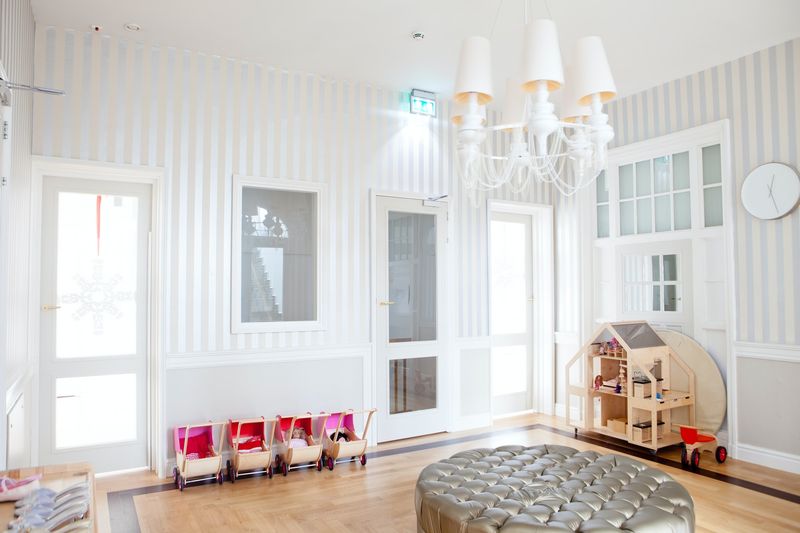
When attending a formal event or going on a date, you usually dress up and try to make a good impression on the other person. When photographing interiors, the same rule applies: pay attention to the scene-setting. Start with cleaning up, because a cluttered setting is never appealing. Organize shelves and object placement as well. It is critical to present it in a nice and orderly manner. You don’t want to give the impression that your area is unkempt and filthy.
Then, adorn the corners where you’ll be taking shots. Provide little accessories to allow visitors to envision themselves living in the space. The use of props gives the impression of being at home. Shiny or light-generating things are valuable for making an atmosphere and adding richness to space. Shiny or light-generating things help to create mood and provide depth to a place. When doing a real estate photography, keep your target audience in mind.
Knowing who will see the photo will help you boost your chances of selling your home. If you want to attract a renter with children, for example, provide toys to help them visualize their life in the room. Alternatively, if you want to attract a working renter, place some magazines and books on the table to help them envision their life on in the property.
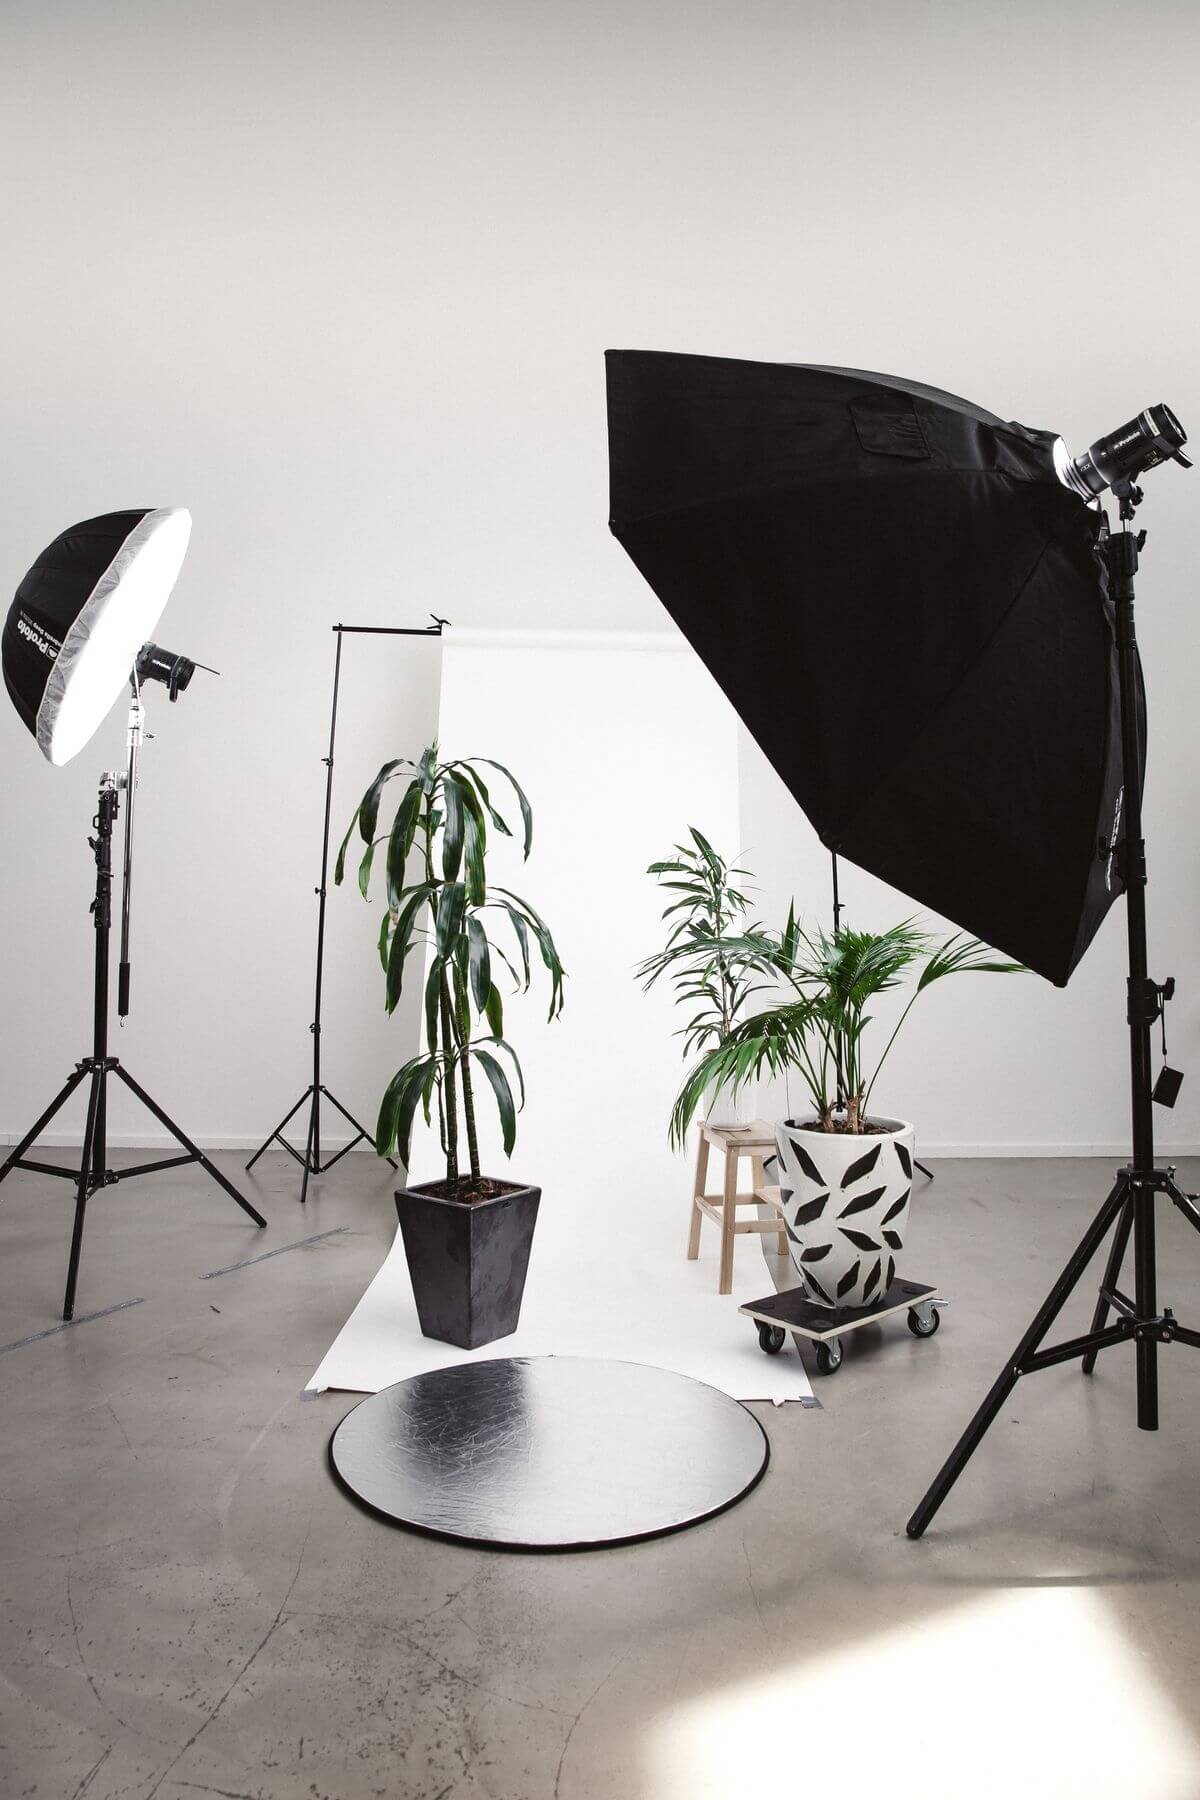
2. CHOOSE YOUR LIGHT SOURCE
Lighting is one of the most critical aspects of any style of photography. Lighting may make a huge impact on how well a property is delivered. Things have the potential to make it appear better or worse. The ambiance of your area might be very different depending on the light source you utilize. There are several forms of illumination available.
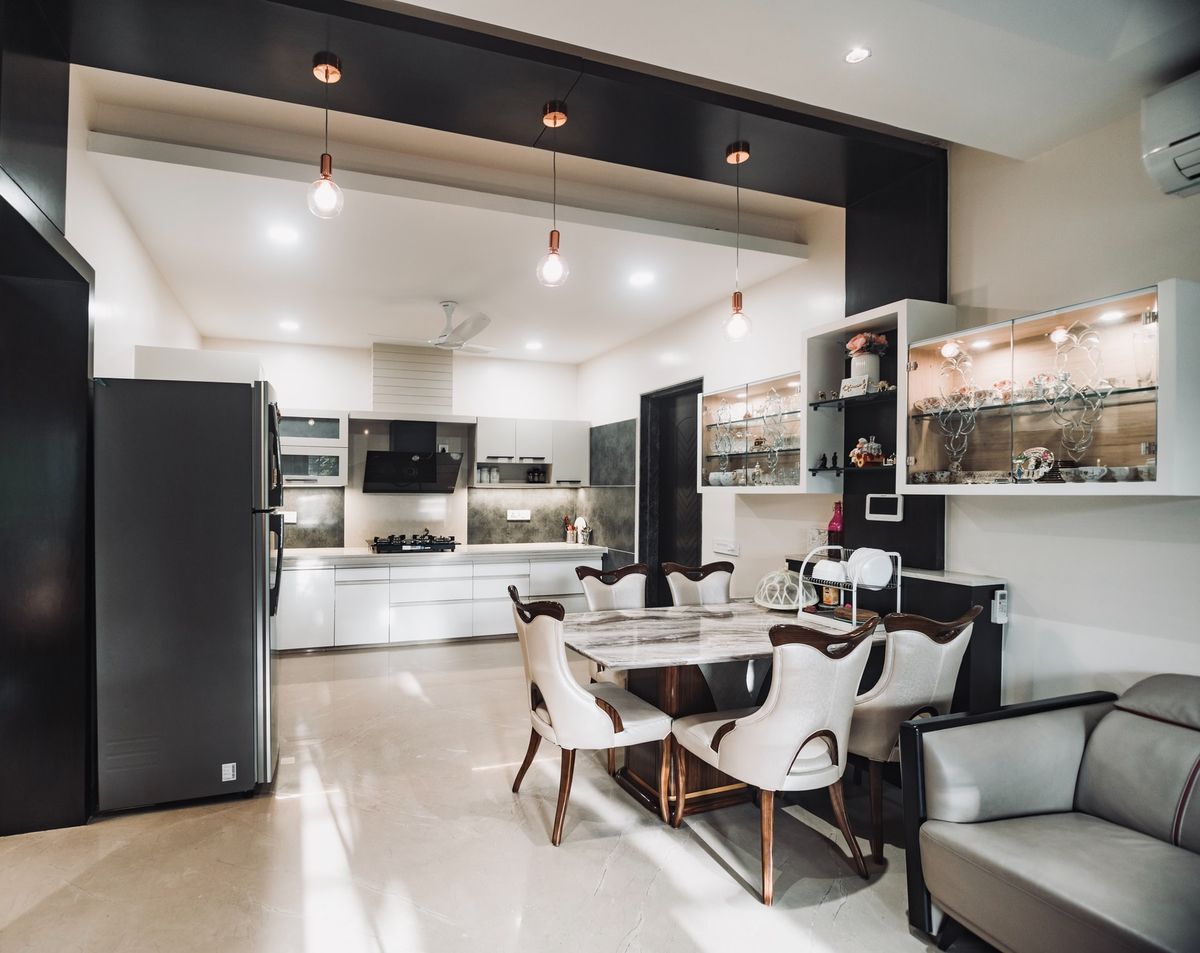
Color lighting is not normally a popular choice for residential flats, but it can be used in a bar or restaurant. Bright white light is always a wonderful choice since it brings out the actual colors of the subject and makes it seem tidy. Unless you’re trying for a romantic or cozy mood, avoid taking shots in low light. For example, under poor lighting, a photograph of a living room with a fireplace might be ideal.
Places like the kitchen or a child’s bedroom, on the other hand, should be photographed in bright, clear, and colorful lighting. More significantly, if there isn’t enough light, your shot won’t be able to convey all of the information about your environment.
SELECT CORRECT TIME TO GET NATURAL LIGHT
So, what kind of light should you use? Natural light and artificial light are the two primary possibilities. The dispersion of natural light is its most notable feature. Make the most of your property if it faces the sun. The sun, as you are all aware, is so far away from your space that it does not shine more on one location than on others.
Although obstructions such as window tiles or trees can occasionally prevent the sun from spreading equally, the light is often distributed evenly over the whole space. As a result, there’s no need to brighten up your room or modify the color in the editing process. Natural light for real estate photography makes it simple to edit afterward, but it might be tough to organize picture shoots (as the sun is not consistently out).
MOOD AND DIRECTION
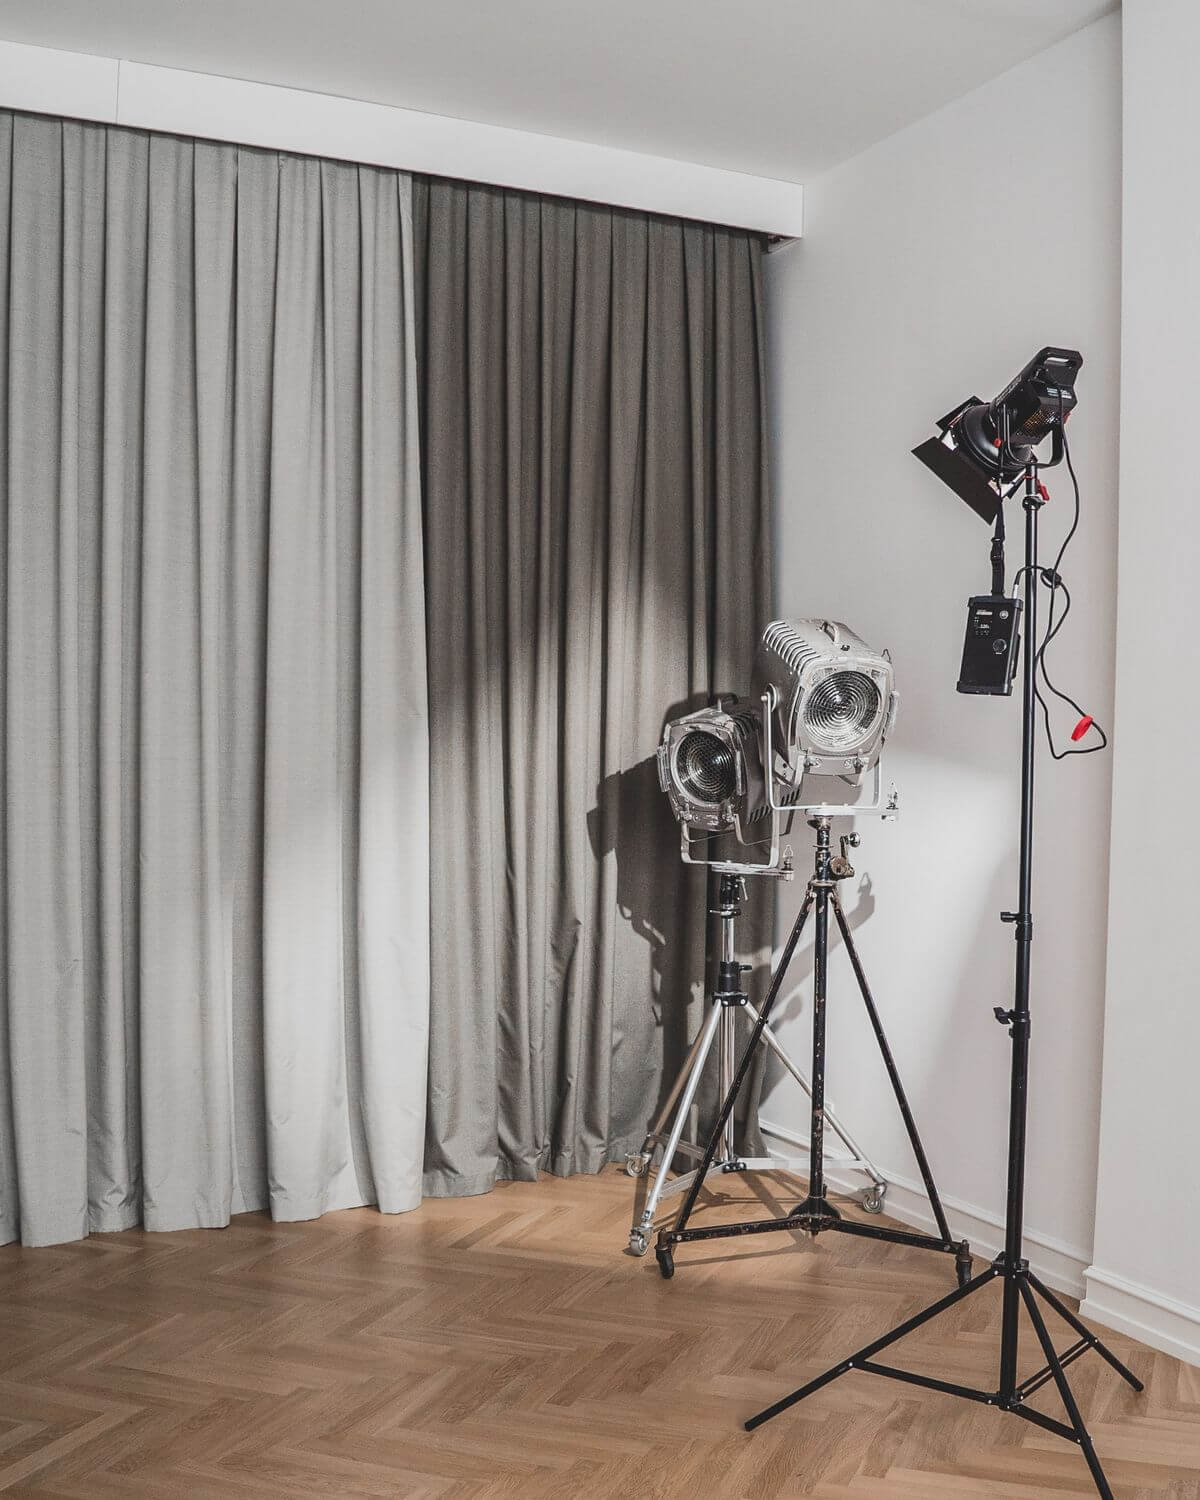
The greatest time to photograph with natural light is usually in the early afternoon. Keep in mind, though, that direct sunlight might cause the shot to be overexposed, so exercise caution when taking it. You could, on the other hand, be willing to utilize artificial light, such as ceiling lights, lamps, and any other light sources you have.
Lamp lights or colored lights could be more successful depending on the mood or environment you’re trying to create. Because artificial lights are adjustable, you may utilize and change them to suit your needs, ensuring that your intention is fully realized. The advantage of artificial lighting is that it is consistent, allowing you to shoot images at any time of day with the same exposure level. However, covering a vast area at one time is more challenging than with natural light.
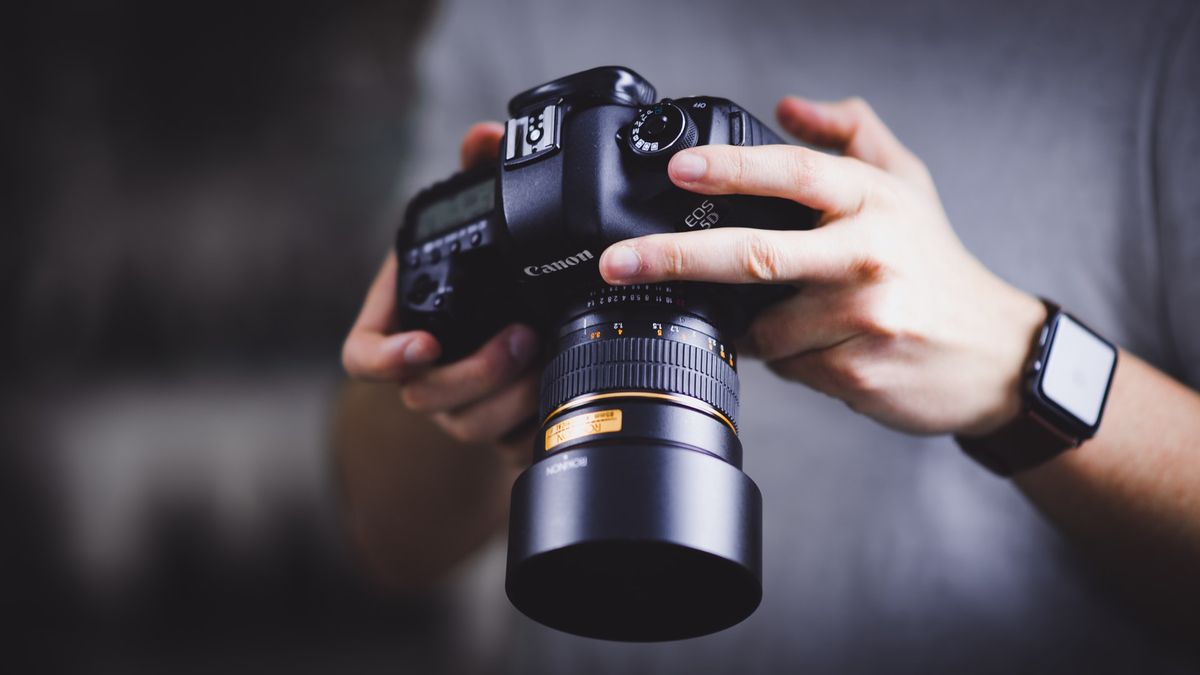
3. SHOOT YOUR SITE
NIGHT SCENE INTERIOR
One benefit of night scene interior photography is that it sheds light on particular objects. This nature of lighting is effective in that it creates a mood. One advantage of nighttime interior photography is that it highlights certain things. This style of lighting works well because it creates a mood. Rather than of exposing every part of your space, you may simply exhibit what you wish.
HERE ARE SOME TIPS FOR SETTING:
- Set your camera’s ISO to the highest (or above 1600)
- Take note of the light and exposure readings
- To keep the camera stable throughout the exposure, use a tripod
- To avoid shaking the camera when pressing the shutter, use a timer
DAY SCENE INTERIOR
- Make use of natural light while photographing your place during the day.
- Using flash units or strobes, add more light
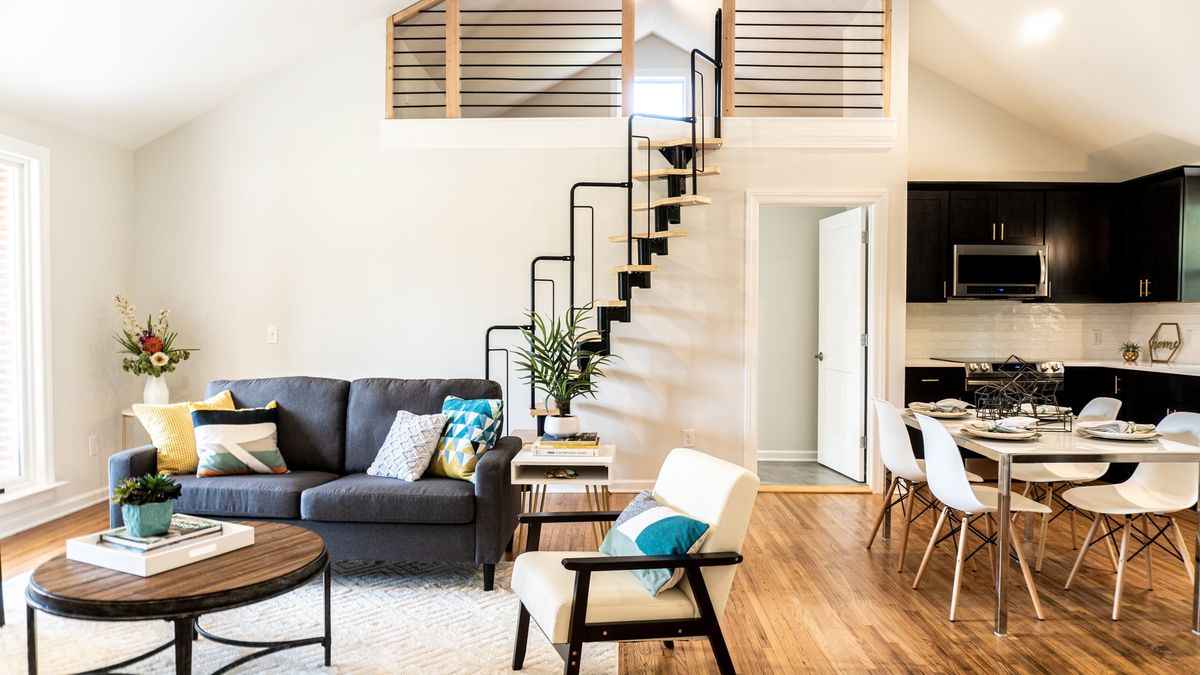
- “Set the scene”: once again, don’t forget to clean up and organize your space
- Shoot into a room’s corner to make it appear bigger
- Capture the distinct features of your environment (e.g. old brick, light patterns, etc.)
PANORAMA
- Make advantage of your camera’s panoramic function if at all feasible (rather than to post-edit photos)
- To make the connecting sections more realistic, overlap 15 percent to 30 percent of the images
- To maintain your camera at the same level, use a tripod
- There’s no need to stop after a single pass if you want to get additional details out of the shot
360°
A 360-degree snapshot is a fantastic way to show the inside of a hotel or cabin, but it’s difficult to get a decent one because if the exposure is perfect, the details are blurred, and if there isn’t enough light, the atmosphere isn’t complete.
As a result, remember to employ repeated exposure strategies to tackle this problem. Take at least six images — four on the horizontal side and three on the vertical side, with one of each overlapping. (Imagine a cube with a planar form!)
VIDEO
You might wish to record a video of your location in order to offer a more detailed explanation. Customers benefit from videos since they are more informational about the entire property, but getting a decent one can be difficult.
When shooting a video, you should pay special attention to the settings, as video post-production takes significantly longer than picture post-production. (For example, after you’ve recorded a video, you can’t just erase an intrusive object.) In addition, a single video can contain several images.
This may be beneficial and detrimental; you can be more descriptive and insightful, but you may have to reveal certain flaws in your place. In photos, there is an advantage in that you may concentrate on the great aspects of your home while ignoring the negative aspects.
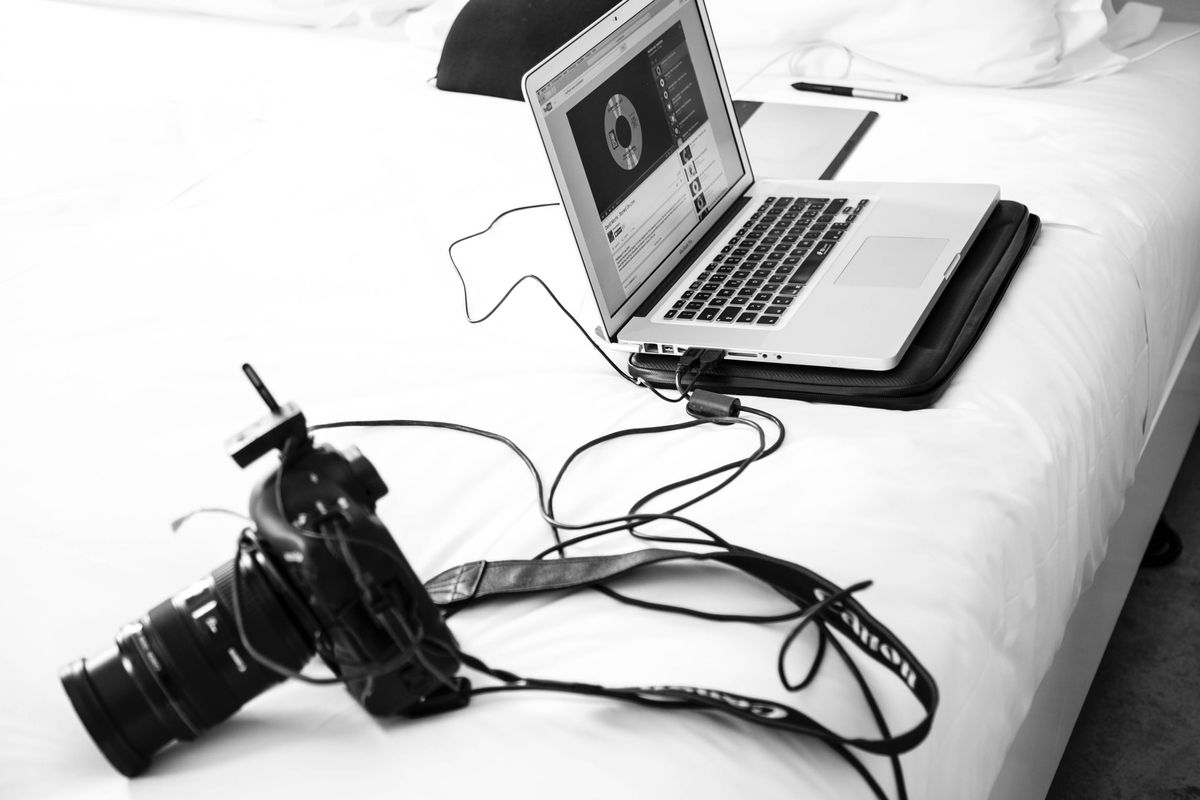
USE THE CORRECT PHOTOGRAPHY TOOLS
FILMIC, a high-definition video camera program, is one of the mobile applications you may utilize. Variable speed zoom and aspect ratio overlays are included. Because the structure, angles, and ratio substantially impact the audiences’ impression in interior photography or videography, the aspect ratio function should be particularly beneficial.
It’s an excellent app for recording space and area. It’s simple to use, and no prior knowledge is required. You can also adjust the focus, exposure, and white balance using this tool. For these uses, it comes highly recommended.
5. EDITING
We’ve now arrived at the very end, which is editing! This step may help you improve your images to make them appear more professional, or it can even help you rescue a horrible shot and make it presentable. Post-processing allows you to bring your photographs to life. Even if you took the photos incorrectly, the appropriate software can help you get a great finish. Simple editing techniques such as cropping the photo to remove the areas you don’t want or resizing the image.
We recommend GIMP and Paint.NET for picture editing since they are both free, accessible, and simple to use. It’s great for novices since it doesn’t overwhelm you with sophisticated procedures and only gives you the essential tools for picture editing. Because this editing procedure will only require a little amount of altering and cropping at most, and because you will be working with raw photographs, such software will be able to do the task without any issues or flaws.
You may use it as well if you know how to use Adobe Photoshop. It’s a more professional picture editing tool, but it’s not necessary in this scenario.
JUST USE HIGH-QUALITY IMAGES
Again, beauty is the most crucial aspect of DIY site photography for rental and sales. The higher the quality of your images, the more appealing they will be to visitors. Of course, you should not commit picture fraud by completely altering or duplicating your space’s photo. Small tactics and hints, on the other hand, might be employed to improve your area. You must, however, attract the purchasers’ attention.
As a result, attempt to make your environment appear lovely; showcase it as best you can. Taking nice images of your environment isn’t tough, but understanding these ideas will help you get a head start and avoid the trial and error stages. Now is a good time to begin capturing images. Clean up your room, arrange your things and space, beautify corners, and then choose the optimum angle, lighting, and furniture placement for your space to seem pleasant.
AT THE END
The goal of real estate photography is to provide potential buyers a realistic picture of what you have to offer while accentuating the greatest features of your home. When it comes to photographing your home, have fun with it and think like a buyer. What would you like to see in the photographs if you were purchasing the property?
You’ll be snapping property photos like a pro in no time if you follow our real estate photography recommendations. You’ll be well on your way to building a complete, consistent portfolio if you follow the real estate photography advice outlined above.