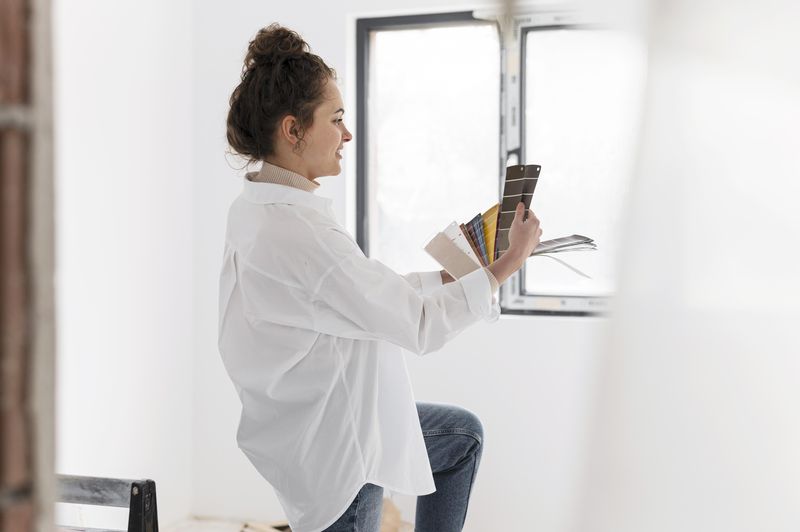
It is impossible to improve on high-quality real estate photos. Before you can successfully exhibit a home on the market, you must first learn a number of principles and strategies. As it has previously been demonstrated that professional real estate photographs boost the seller’s negotiation power, we provide you with hints for home staging for photos in your listings.
Of course, some of these suggestions are simpler to put into action than others.
But, whether you’re a real estate agent that goes out of their way to add value to your customers’ houses or a first-time home seller, everyone can learn something just by reading these few paragraphs.
Hints for Home Staging for Photos
1. Use a Quality Camera and a Wide-Angle Lens
Using a good camera is the simplest way to acquire good real estate images. Although there are several “high-end” tiny cameras on the market today, the SLR with interchangeable lenses remains the ideal.
Indeed, professional instruments are required in a professional context. DSLRs offer various benefits over small cameras or cell phones, including the following:
- The first and most crucial advantage is that they allow you to make use an ultra-wide-angle lens, which makes the rooms of a house appear much larger in photographs. Even in small spaces, this arrangement works well.
- Furthermore, DSLRs have a relatively big sensor, which increases image sharpness significantly. The things are not apparent in their full brilliance without good sharpness and high sharpness.
- They also allow you to simply alter the crucial settings to suit all of the many lighting circumstances in real estate photography, such as a sunset in front of the wide living room windows or the quiet light of a wonderful wine cellar.
Last but not least, a professional device will instill trust in your customers: they will know that you would go to all lengths to promote their property.
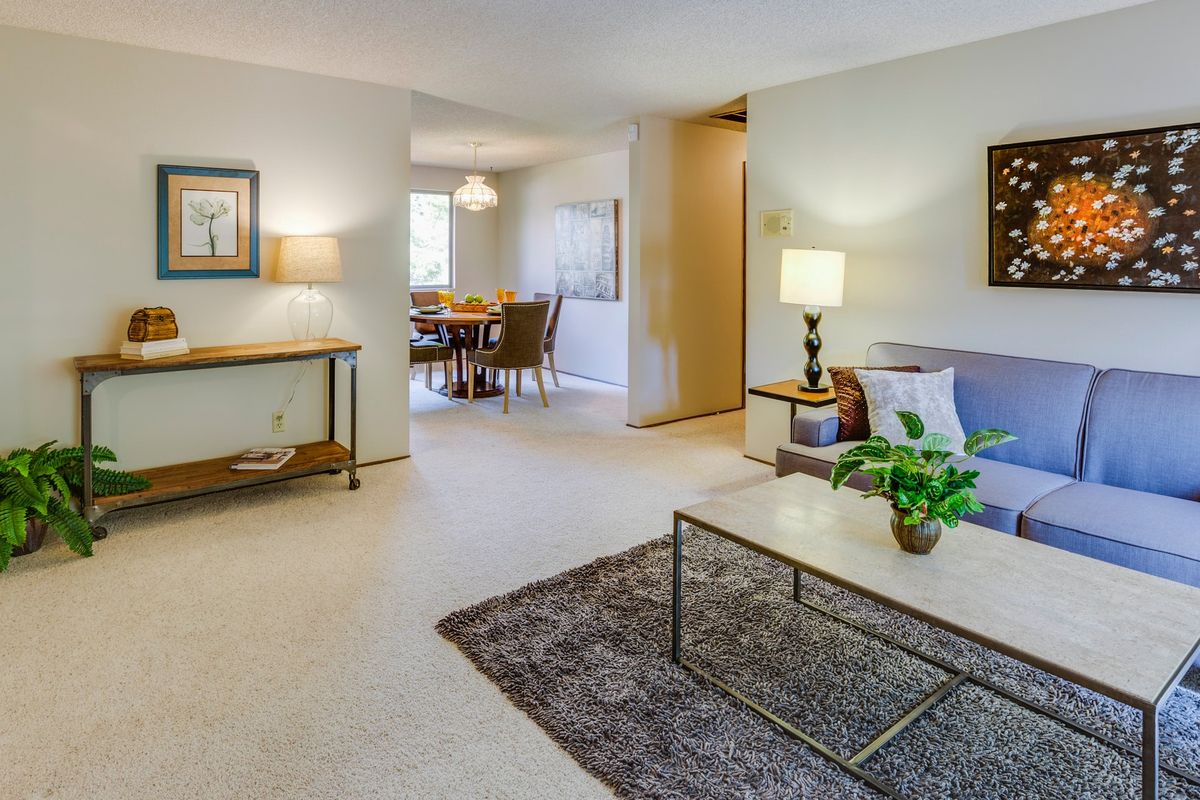
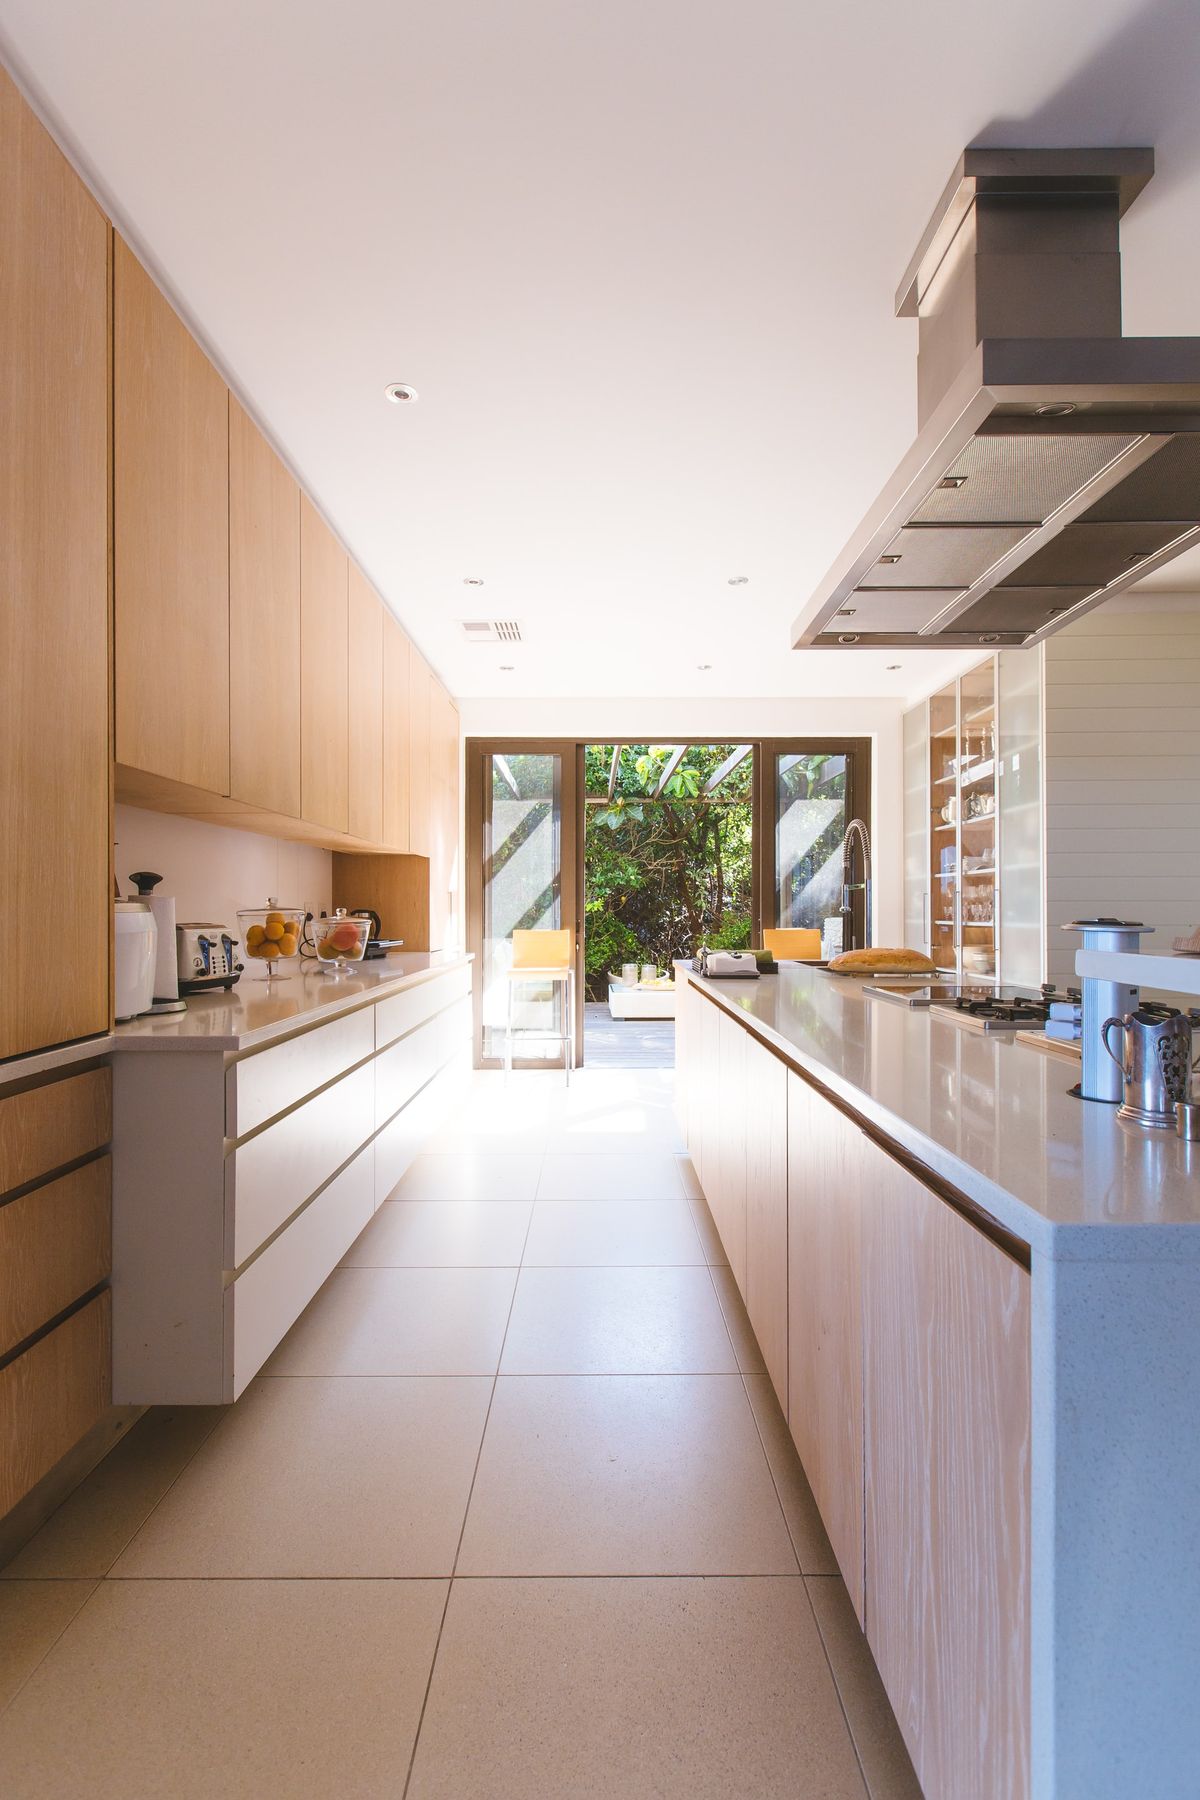
2. Get Your House in Order
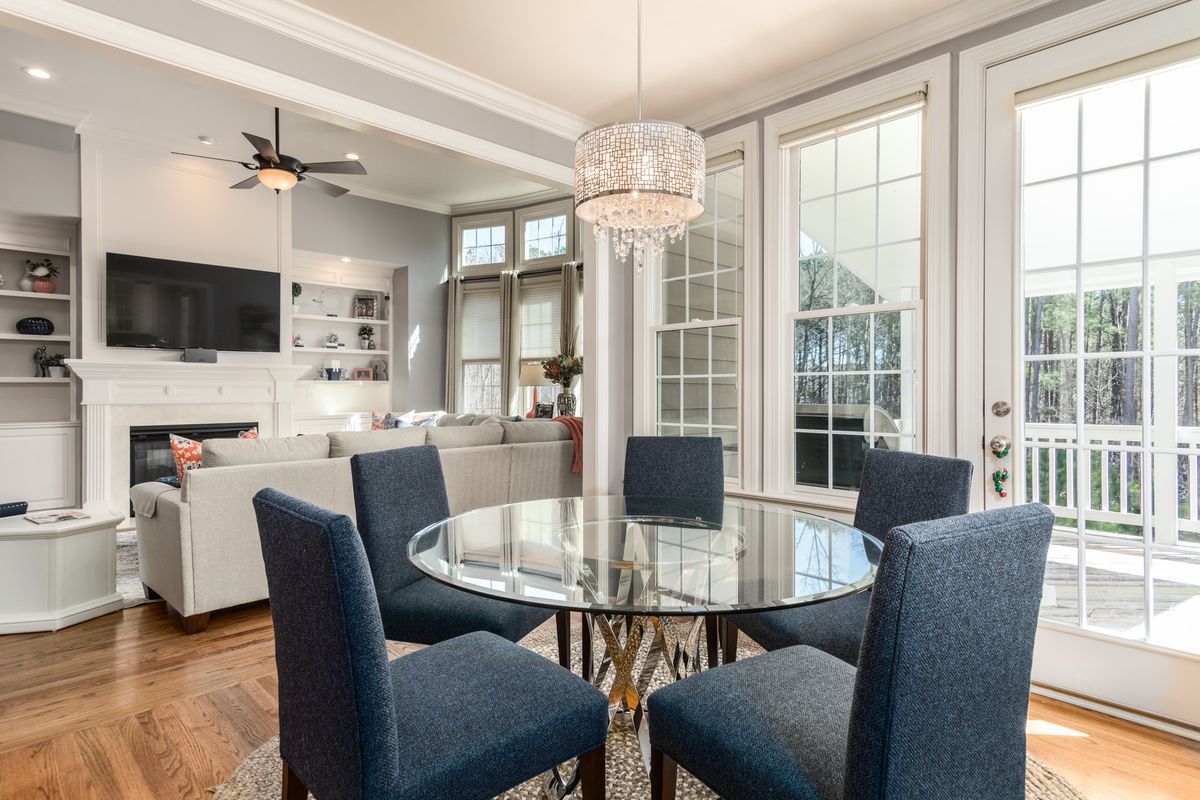
A well-organized home is an inviting home. Inform the proprietors of your picture session so that the property is neat and tidy when you arrive. A tight minimum of common goods is preferred for a real estate ad as well as an interior design shot.
Overcrowded rooms are less comfortable to live in and give the appearance of less space. A potential customer will be unable to visualize himself there and will be underwhelmed by your effort.
So keep your home tidy: put the dishes back in the cupboards, clothing in the closets, and beauty goods in the bathrooms. All of this enhances the appearance of your images and accentuates the quality of your work.
3. Eliminate Convergence of Vertical Lines
The vertical lines in the shot are one of the most important professional secrets of real estate photographers. Instead of converging to a single point, they must remain completely parallel to the image’s edges. A convergence of this magnitude will create the impression of a slanted and unstable structure.
Except for deviations related to a specific style, the professional photographers’ images are always fairly straight. The homes stay upright, the walls and windows of a room remain parallel, and every furniture retains its original shape.
This may appear to be a little detail, but it is critical. Respecting verticality emphasizes the power, stability, and architectural elegance that appeals straight to the subconscious of the beholder.
To achieve such photographs, the camera must be held absolutely straight in the hand when shooting, or the perspective must be rectified in post-processing.
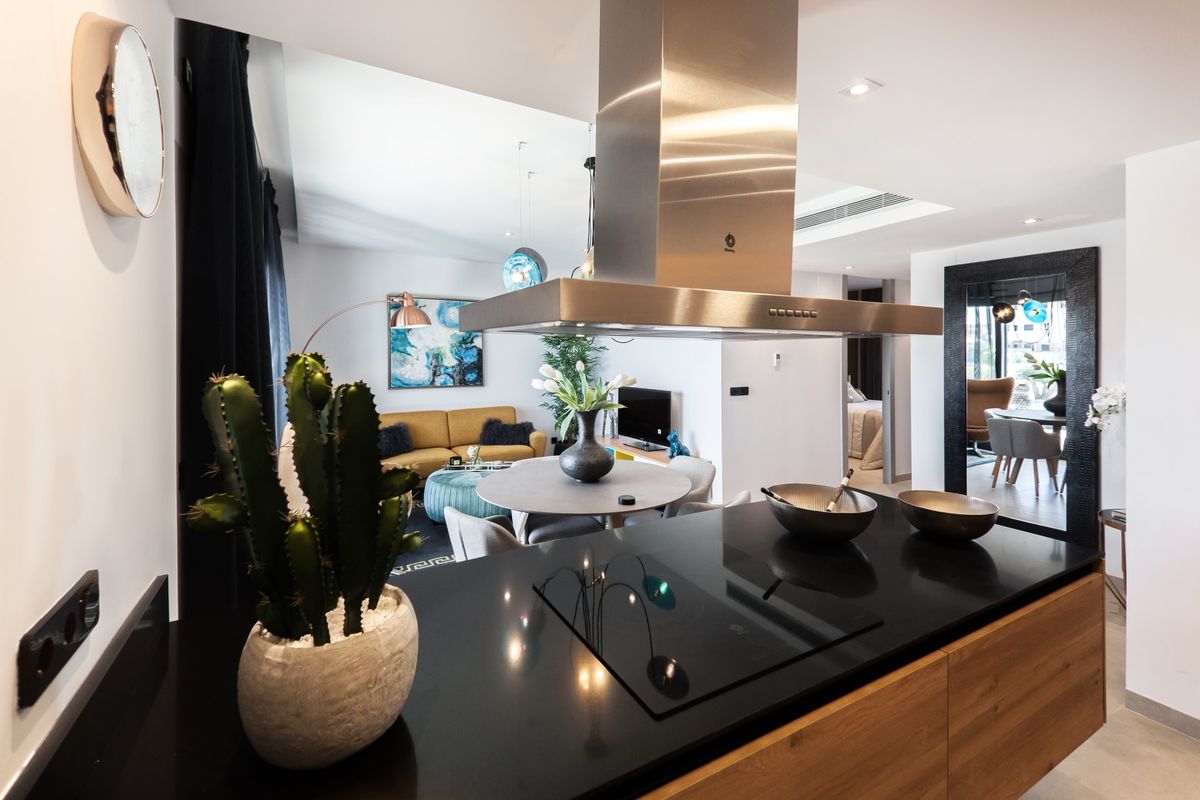
4. Open The Blinds and Switch on The Lights
We recommend allowing in as much natural light as possible to further enhance the sensation of grandeur. Turning on lamps and fixtures, even in the middle of the day, will create a much warmer and more welcome atmosphere.
Turning on the lights throughout the day may seem paradoxical, but it is vital to balance the exterior light with the indoor light, especially when the sun is shining strongly. This equilibrium significantly improves the sense of space in a living area.
Usability, size, and clarity are all important considerations when home staging. While photographs will not sell a property on their own, they should simply convey to the reader all of a space’s assets.
As a result, it is strongly advised that the photographs associated with your ads be well-lit.
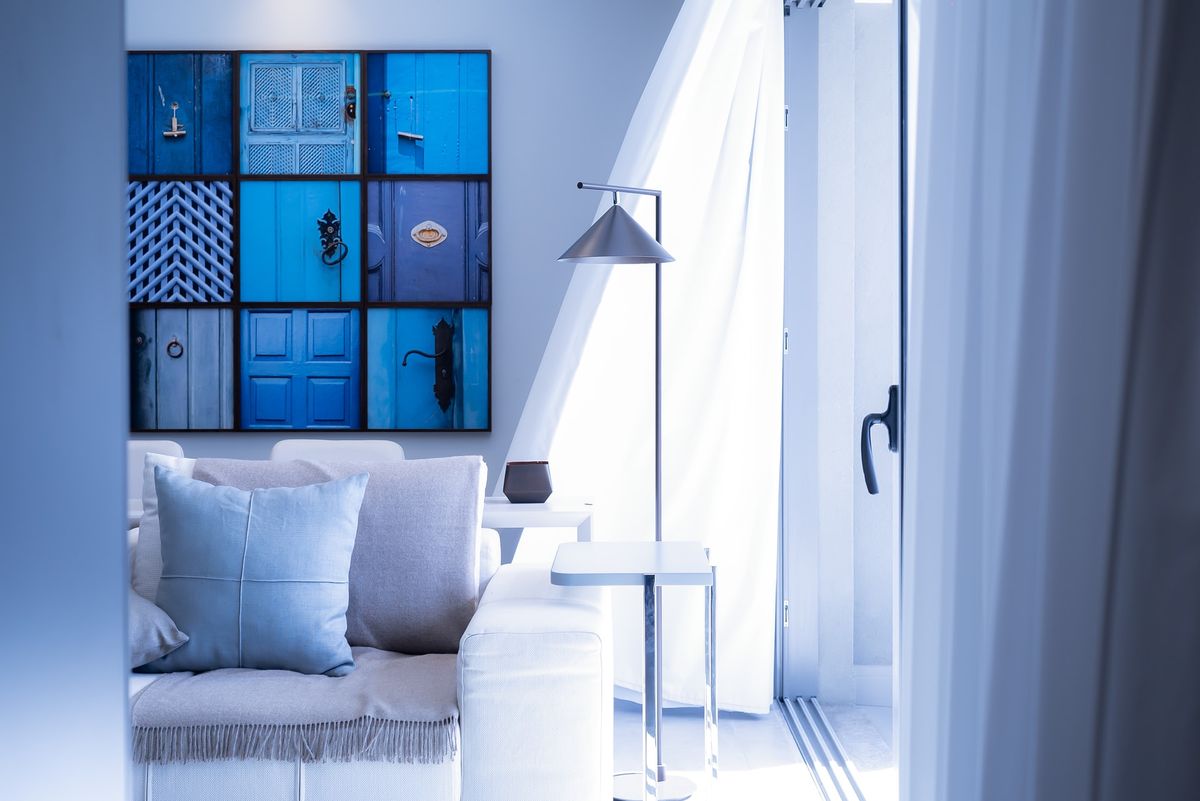
5. Overexposing Photos Against The Light
Pay note if you just followed the last advice and have all the windows open, or if the primary color of the scene is white: your camera will tend to focus totally on the white or bright elements of the image and reduce the brightness of the rest of the room.
For example, if bright sunlight enters the room through a large window, the camera will attempt to compensate by lowering the overall exposure, which would darken the image. A photo of an extremely white bathroom, such as the one above, depicts a similar situation: standard camera operation will result in a drab and boring image.
However, resolving this issue is not difficult! Simply extend the exposure duration of the camera using the above-mentioned option to avoid a room from getting too gloomy despite the gorgeous natural illumination.
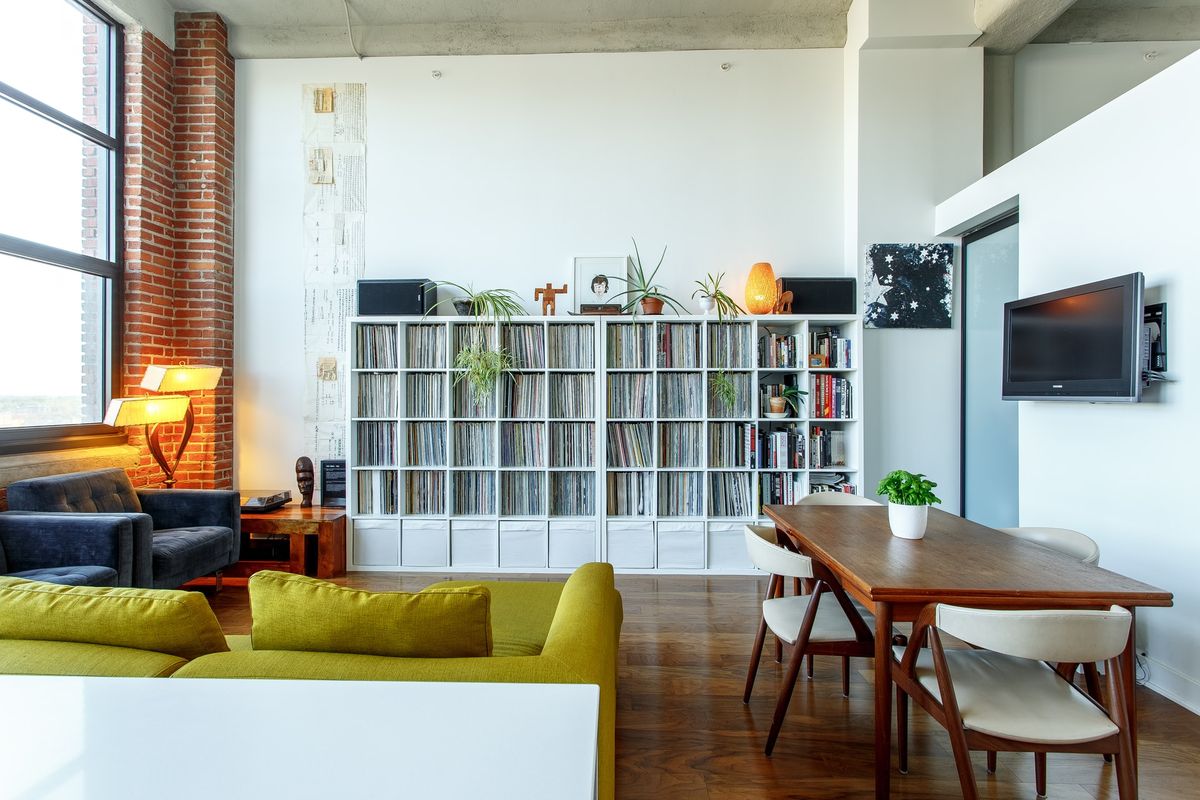
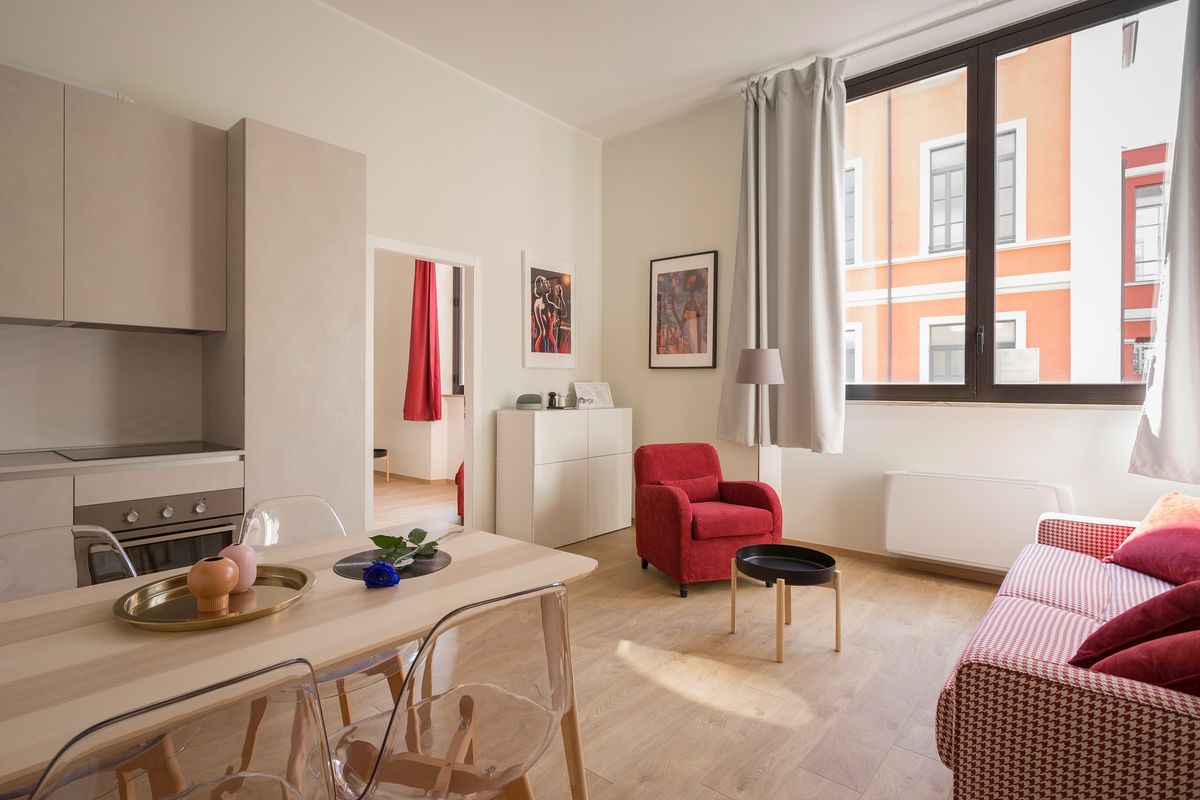
6. Bring Out The Little Charming Details
In interior and architectural photography, small details may make a big impact. Whether it’s a newly refurbished bathroom, a solid wood floor with character, or a specific wall décor, the appealing aspects of the space should be highlighted.
The objective is to captivate viewers and make them fall in love with the location the moment they see the photographs.
This is true for real estate listings as well as hotels, restaurants, and any other business facility that seeks to grab clients’ attention through graphics. Even interior designers might benefit from emphasizing the personal touches in their work.
7. Take Advantage of The Stability of a Tripod
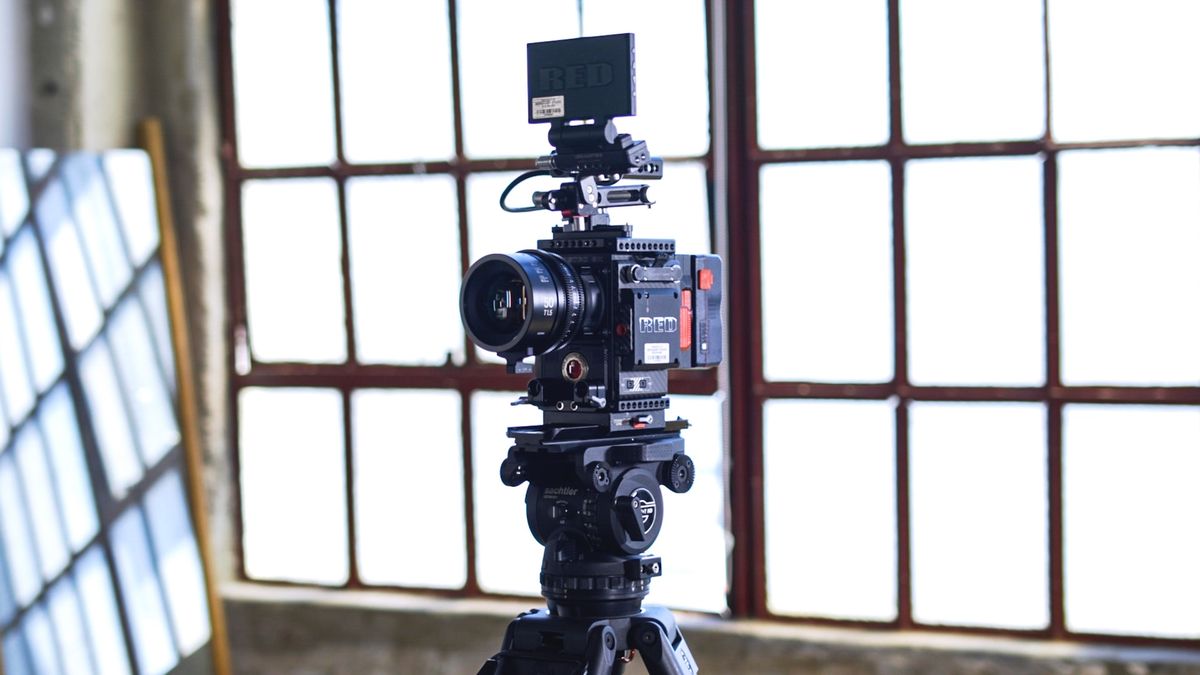
Few things can improve your listing photographs as soon as a good tripod. It’s a somewhat larger piece of equipment, but you’ll never see a serious real estate photographer without one.
This is due to two factors. First, stabilizing your camera will allow you to operate with a shallow depth of field. Because the focus will span the whole room, your images will have outstanding crispness.
Second, a tripod will allow you to capture the inside with longer exposures of a few seconds.
This implies that your real estate images will have fantastic lighting and very little noise. You won’t be able to show purchasers the home in its entire splendor until you have these two things.
8. Set The Scene for Your Décor
The challenge is home staging to prevent images that are too “cold” owing to too much emptiness, too clean a decor, or too tidy a decor resembling a showroom. For example, in the kitchen, arrange a fruit basket, cups near the coffee machine, a bouquet of flowers on the living room table, set the table in the dining room, books on bedside tables in the bedroom, or towels and candles near a bathtub.
Demonstrate that there is life! The idea is not to change the original decoration but to adjust little touches that will provide a pleasing appearance.
You may, for example, position seats or armchairs in various ways so that they do not interfere with your photo frame.
9. Show off Clever Arrangements
To provide as many home staging advice as possible, it is generally useful to photograph the furniture twice, ideally in the same frame, to adhere to the before and after format, which is more detailed. The first time, you photograph the furniture closed, and the second time, you photograph it open to reveal the storage.
10. Use The Lines and The Geometry of The Décor
You should employ the lines of the decor to generate excellent interior shots since they allow you to acquire a straight snapshot and build frames with the aid of architecture or decorative components. The harmonious outcome of a photograph is dependent on the adherence to these lines.
To begin, take the simple route by positioning yourself in front of a wall. Then, position your camera such that the horizontal lines in your frame are aligned to the horizontal lines in the room’s ceiling and floor. Help yourself to the baseboards, moldings, and so on. The vertical lines of the décor, such as the walls, windows, or furniture, are also referred to. They must be parallel to your frame’s vertical lines.
Final Thoughts
Of course, by following these tips, your real state photos will be much better than those taken by most of your competitors. Your clients will understand that they are dealing with specialists, experts in the visual marketing of a property.
Working with experienced photographers will help you absolutely stand out. Not only will you maintain your present clients, but your portfolio of homes that you’ve properly highlighted will bring you even more business.